Filter by
Mount Type
Message Type
Color
Shape
Message
Material
Thickness
Message Color
Export Control Classification Number (ECCN)
DFARS Specialty Metals
Message Contains
Header Color
Diameter
Maximum Temperature
Tag Holder Type
Message Plates
Blank Message Plates


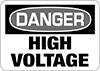
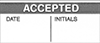
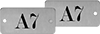
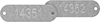
Numbered and Lettered Message Plates


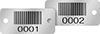
Bar Code Message Plates