Filter by
Thread Size
Length

Threading


Head Diameter
Head Height


Thread Length

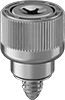
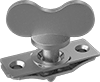
Grip Style


PEM® Part Number
Panel Thickness
For Outer Panel Thickness
DFARS Specialty Metals
Export Control Classification Number (ECCN)
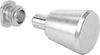
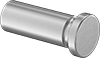
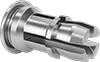
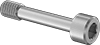
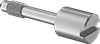
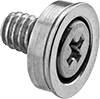
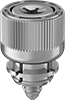
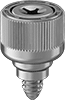
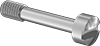
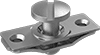
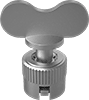
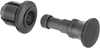
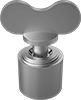
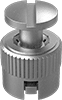
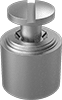
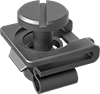
Captive Panel Screws

Other Products