Filter by
Material
Gauge Size
Export Control Classification Number (ECCN)
Shank Diameter
Mount Type
Shank Type
Manufacturer
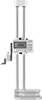
Display Type


Cut Type
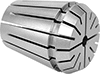
Collet Type
Overall Length
For Use With
For Holding
Cutting Direction

Distance Measured
Collet Size
Measuring Increments
Most Likely Products


All Results
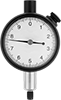
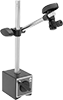
Measuring and Inspecting


Fabricating and Machining
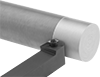
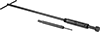
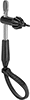


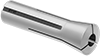
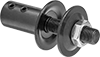
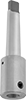
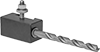
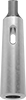

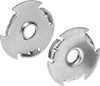
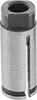
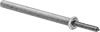
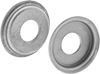
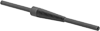
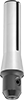

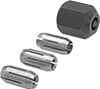
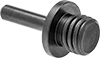

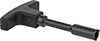
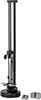
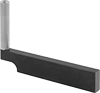
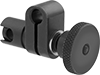
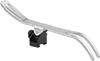
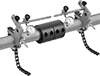
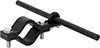
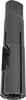
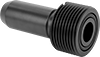
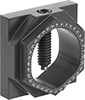
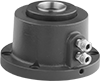
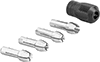
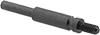
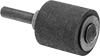
Hole Saw Arbor Extensions
Reach your hole saw into spots where your drill is too big to fit
2 products


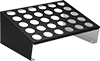
Containers, Storage, and Furniture
Fastening and Joining