
Width Width |
|---|
|
|
|
Height Height |
|---|


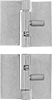
Mounting Orientation Mounting Orientation |
|---|
|
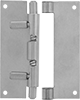
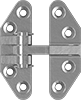
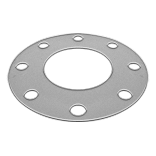
Mounting Holes Mounting Holes |
|---|
| With Holes | Without Holes |
RoHS (Restriction of Hazardous Substances) RoHS (Restriction ofHazardous Substances) |
|---|
|
DFARS (Defense Acquisition Regulations Supplement) DFARS (Defense AcquisitionRegulations Supplement) |
|---|

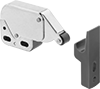
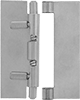
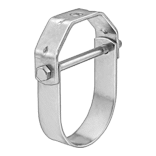
Slide-Bolt Type Slide-Bolt Type |
|---|
|
REACH (Registration, Evaluation, Authorization and Restriction of Chemicals) REACH (Registration,Evaluation, Authorization and Restriction of Chemicals) |
|---|
|