

Material Material |
|---|
|
|
Finish Finish |
|---|
|
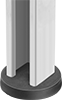
Strut Channel Framing Component Strut ChannelFraming Component |
|---|


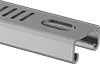
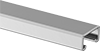
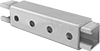
Strut Channel Type Strut Channel Type |
|---|
 |  |
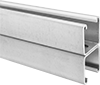
| Standard | Low Profile |
 |  |
| Stacked | High Profile |
 |  |
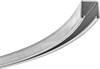
| Telescoping | Curved |
 | |
| Extra Low Profile |
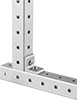
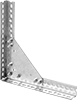
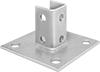
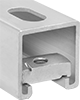
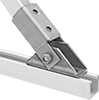
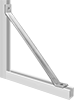
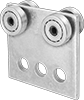
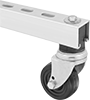
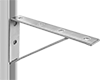
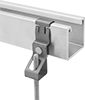
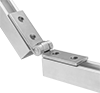
Bolt-Together Framing Component Bolt-TogetherFraming Component |
|---|
 |  |
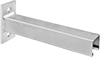
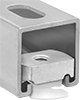
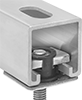
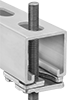
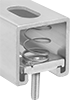
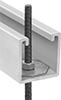
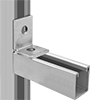
| Rail | Surface Bracket |
 |  |
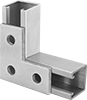
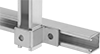
| Corner Bracket | Mounting Foot |
 |  |
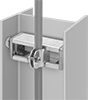
| Bracket Fastener Set | Telescoping Rail Set |
 |  |
| Connector | Concrete Anchor |
Bracket Type Bracket Type |
|---|
Length Length |
|---|


Framing Type Framing Type |
|---|
|
DFARS (Defense Acquisition Regulations Supplement) DFARS (Defense AcquisitionRegulations Supplement) |
|---|
Thickness Thickness |
|---|
|
|
|
Construction Construction |
|---|
 |  |
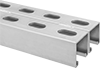
| Solid | Slotted Hole |
 | |
| Round Hole |
RoHS (Restriction of Hazardous Substances) RoHS (Restriction ofHazardous Substances) |
|---|
|
Thread Size Thread Size |
|---|

REACH (Registration, Evaluation, Authorization and Restriction of Chemicals) REACH (Registration,Evaluation, Authorization and Restriction of Chemicals) |
|---|
|