Filter by
Strut Channel Type


Strut Channel Framing Component


Channel Height


Length
Construction
Mount Type


Thickness
ID
Strut Channel Nut Type

Width
Height
Export Control Classification Number (ECCN)
DFARS Specialty Metals
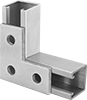
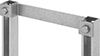
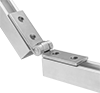
Strut Channel Framing and Fittings
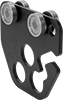
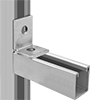
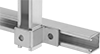
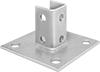
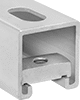
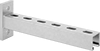
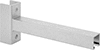
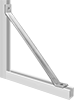
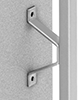
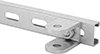
Brackets


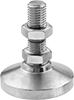
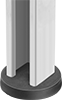
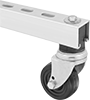
Feet
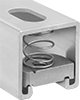
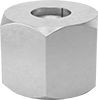
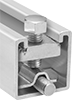
Nuts


Suspension Mounts
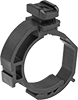
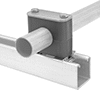
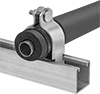
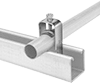
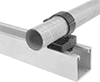
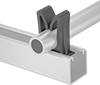
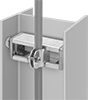
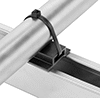
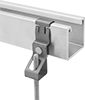
Routing Clamps


Spool Rack Mounts

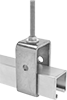
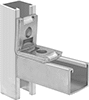
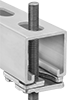
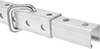
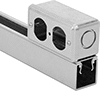
Beam Mounts

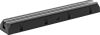
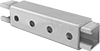
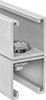
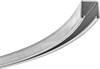
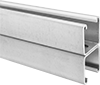
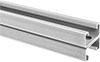
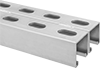
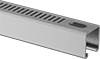
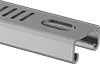
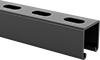
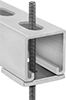
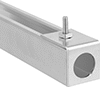
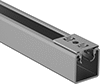
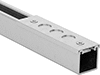
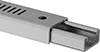
Channel


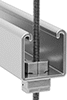
Rod Stabilizers
Washers
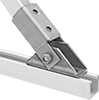
Curtain Slides
Cable Tie Mounts
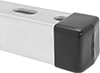
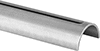
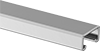
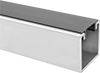
Covers

Stair Tread Mounts
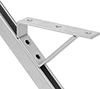
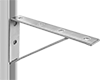
Shelf Brackets
Conduit Connection Plates
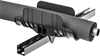
Hangers

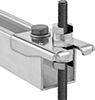
Threaded Rod Brackets
Routing Saddles
Other Products