

Filter by
Diameter
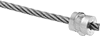
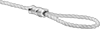
Wire Rope Diameter

Wire Rope Construction


For Sleeve Type
Attachment Type
Application
Wire Rope Material
Sleeve Material
Sleeve Length
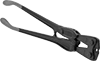
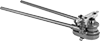
Required Installation Tool
Length
Finish
OD
Export Control Classification Number (ECCN)
DFARS Specialty Metals
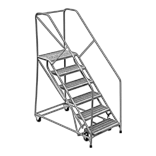
Material Handling


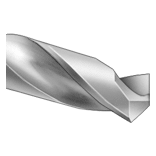
Fabricating and Machining
Fluid Handling