Filter by
Handle Material
Usable Length


Performance
Length
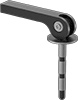
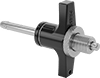
Shaft Type
Double Shear Breaking Strength
Diameter at Extended Ball Height
Spring Material
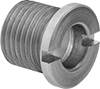
Thread Size
Ball Material
DFARS Specialty Metals
Export Control Classification Number (ECCN)
Nose Material
Body Material
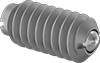
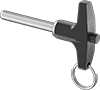
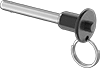
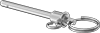
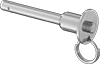
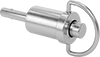
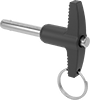
Quick-Release Pins
Locking
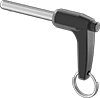
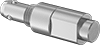

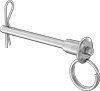

Nonlocking

Expanding Diameter